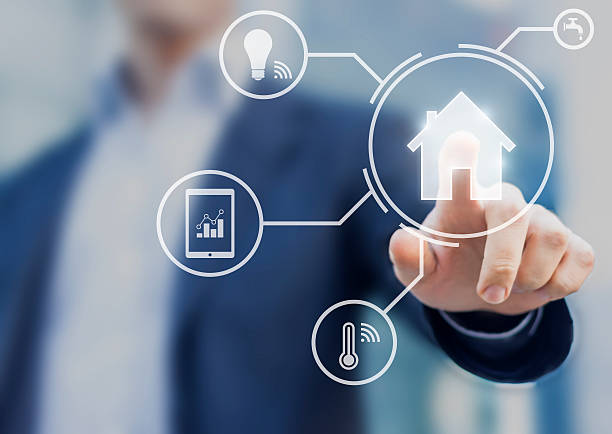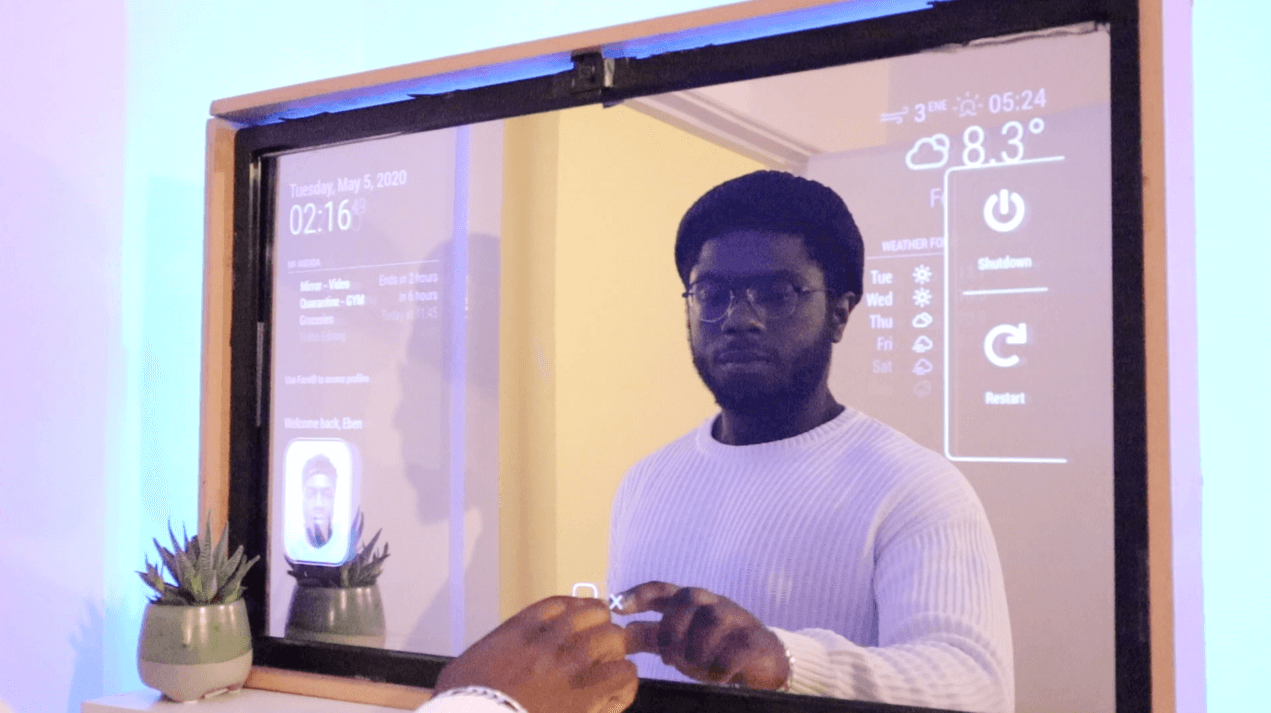
DIY smart mirror project complete guide provides step-by-step instructions for creating an intelligent bathroom or bedroom mirror that displays weather information, calendar events, news updates, and smart home controls while maintaining full mirror functionality through innovative two-way mirror technology. This comprehensive project combines Raspberry Pi computing, LCD display integration, custom software installation, and frame construction techniques to create a futuristic home automation interface that rivals commercial smart mirror products at a fraction of the cost. Building a custom smart mirror enables complete customization of displayed information, integration with existing smart home systems, and the satisfaction of creating a unique home technology showcase that demonstrates advanced DIY capabilities and technical expertise.
This detailed tutorial covers all aspects of smart mirror construction, from component selection and assembly procedures to software configuration and advanced customization options that transform ordinary mirrors into interactive information displays.

Essential Components and Materials
Core Electronic Components
Smart mirror construction requires specific electronic components including a Raspberry Pi 4 or similar single-board computer, compatible LCD monitor, two-way mirror acrylic, and various connecting cables and power supplies that form the foundation of the intelligent mirror system.
The Raspberry Pi serves as the central processing unit, running the mirror software and managing all display functions, network connectivity, and sensor integration that enables smart home interaction and information display capabilities.
A high-quality LCD monitor provides the display functionality behind the two-way mirror, with screen size typically ranging from 21-32 inches depending on desired mirror dimensions and available installation space in bathrooms or bedrooms.
Two-Way Mirror and Frame Materials
Two-way mirror film or acrylic sheets create the essential dual-functionality that allows the mirror to reflect normally while displaying digital information when the LCD is illuminated from behind the mirror surface.
Professional-grade two-way mirror acrylic provides superior optical quality and durability compared to film applications, though it requires precise cutting and handling to avoid scratches or distortion that could affect both mirror and display functionality.
Frame construction materials include wood, aluminum, or 3D-printed components that house all electronic components while providing an attractive finished appearance that integrates seamlessly with existing home decor and architectural elements.
Sensors and Input Devices
Motion sensors enable automatic display activation when users approach the mirror, conserving energy while ensuring information appears when needed for daily routines like morning preparation or evening skincare activities.
Smart home energy efficiency principles apply to DIY smart mirror projects through motion-activated displays, automatic brightness adjustment, and power management features that minimize electricity consumption while maintaining full functionality and user convenience throughout daily operation cycles.
Microphones and cameras can provide voice control and gesture recognition capabilities, though privacy considerations require careful implementation and clear user control over data collection and processing activities.
Software Platform Selection and Installation
MagicMirror² Framework
MagicMirror² represents the most popular open-source software platform for DIY smart mirror projects, providing a modular framework with extensive customization options and active community support for troubleshooting and feature development.
The platform includes built-in modules for weather displays, calendar integration, news feeds, clock functions, and system status monitoring, with hundreds of additional community-developed modules available for specialized functionality and smart home integration.
Installation involves downloading the MagicMirror² software onto the Raspberry Pi, configuring network settings, and customizing the config.js file to select desired modules and display layouts that match individual preferences and household requirements.
Alternative Software Platforms
Other software options include custom web-based interfaces, Android mirror applications, and specialized mirror operating systems that may offer specific features or integration capabilities not available in standard MagicMirror² installations.
Custom software development using web technologies like HTML, CSS, and JavaScript enables complete control over mirror functionality and appearance, though it requires more advanced programming skills and ongoing maintenance responsibilities.
Commercial smart mirror software may provide premium features and support but typically involves subscription costs and reduced customization flexibility compared to open-source alternatives.
Hardware Assembly and Construction Process
LCD Monitor Preparation and Mounting
Monitor preparation involves removing the plastic bezels and stands to create a flat display panel suitable for mounting behind the two-way mirror surface without creating excessive depth or visible gaps.
Cable management requires careful routing of power and data connections to prevent interference with mirror mounting while ensuring reliable connections that won’t become disconnected during installation or daily use.
Mounting brackets secure the LCD panel in proper position relative to the two-way mirror, ensuring even illumination and preventing shadows or bright spots that could affect display quality or mirror appearance.
Mirror Frame Construction
Frame construction techniques vary based on chosen materials and desired aesthetics, with options ranging from simple wooden frames to sophisticated aluminum or 3D-printed enclosures that provide professional appearance and adequate ventilation.
Internal component mounting involves securing the Raspberry Pi, power supplies, and additional electronics within the frame structure while maintaining access for maintenance and upgrades without disassembling the entire mirror.
Ventilation considerations prevent overheating of electronic components through strategically placed vents or fans that maintain adequate airflow while preserving the mirror’s clean appearance and quiet operation.
Electrical Connections and Power Management
Power distribution systems provide appropriate voltages for the LCD monitor, Raspberry Pi, and additional components through efficient switching power supplies or USB power delivery systems that minimize heat generation and energy consumption.
Safety considerations include proper electrical insulation, GFCI protection for bathroom installations, and secure cable management that prevents electrical hazards or damage from moisture exposure in humid environments.
Cable routing and management ensure clean internal organization while providing access for troubleshooting, upgrades, and maintenance without requiring complete disassembly of the finished mirror system.
Software Configuration and Customization
Initial Setup and Network Configuration
Raspberry Pi initial setup involves installing the operating system, enabling SSH access for remote configuration, and establishing WiFi connections that provide internet access for weather data, calendar synchronization, and software updates.
Network security configuration includes changing default passwords, enabling firewalls, and configuring secure remote access methods that protect the smart mirror from unauthorized access while maintaining convenient management capabilities.
Time zone and location settings ensure accurate weather forecasts, sunrise/sunset calculations, and calendar synchronization that provide relevant local information for daily planning and routine management.
Module Selection and Layout Design
Module selection involves choosing appropriate display widgets for weather, calendar, news, traffic, and other information sources that provide value without creating cluttered or overwhelming display layouts.
Layout customization positions modules in logical arrangements that accommodate natural viewing patterns while ensuring important information remains visible and readable during typical mirror usage scenarios.
Display region management ensures mirror functionality remains unimpaired in central viewing areas while dedicating peripheral regions to information display that doesn’t interfere with reflection quality.
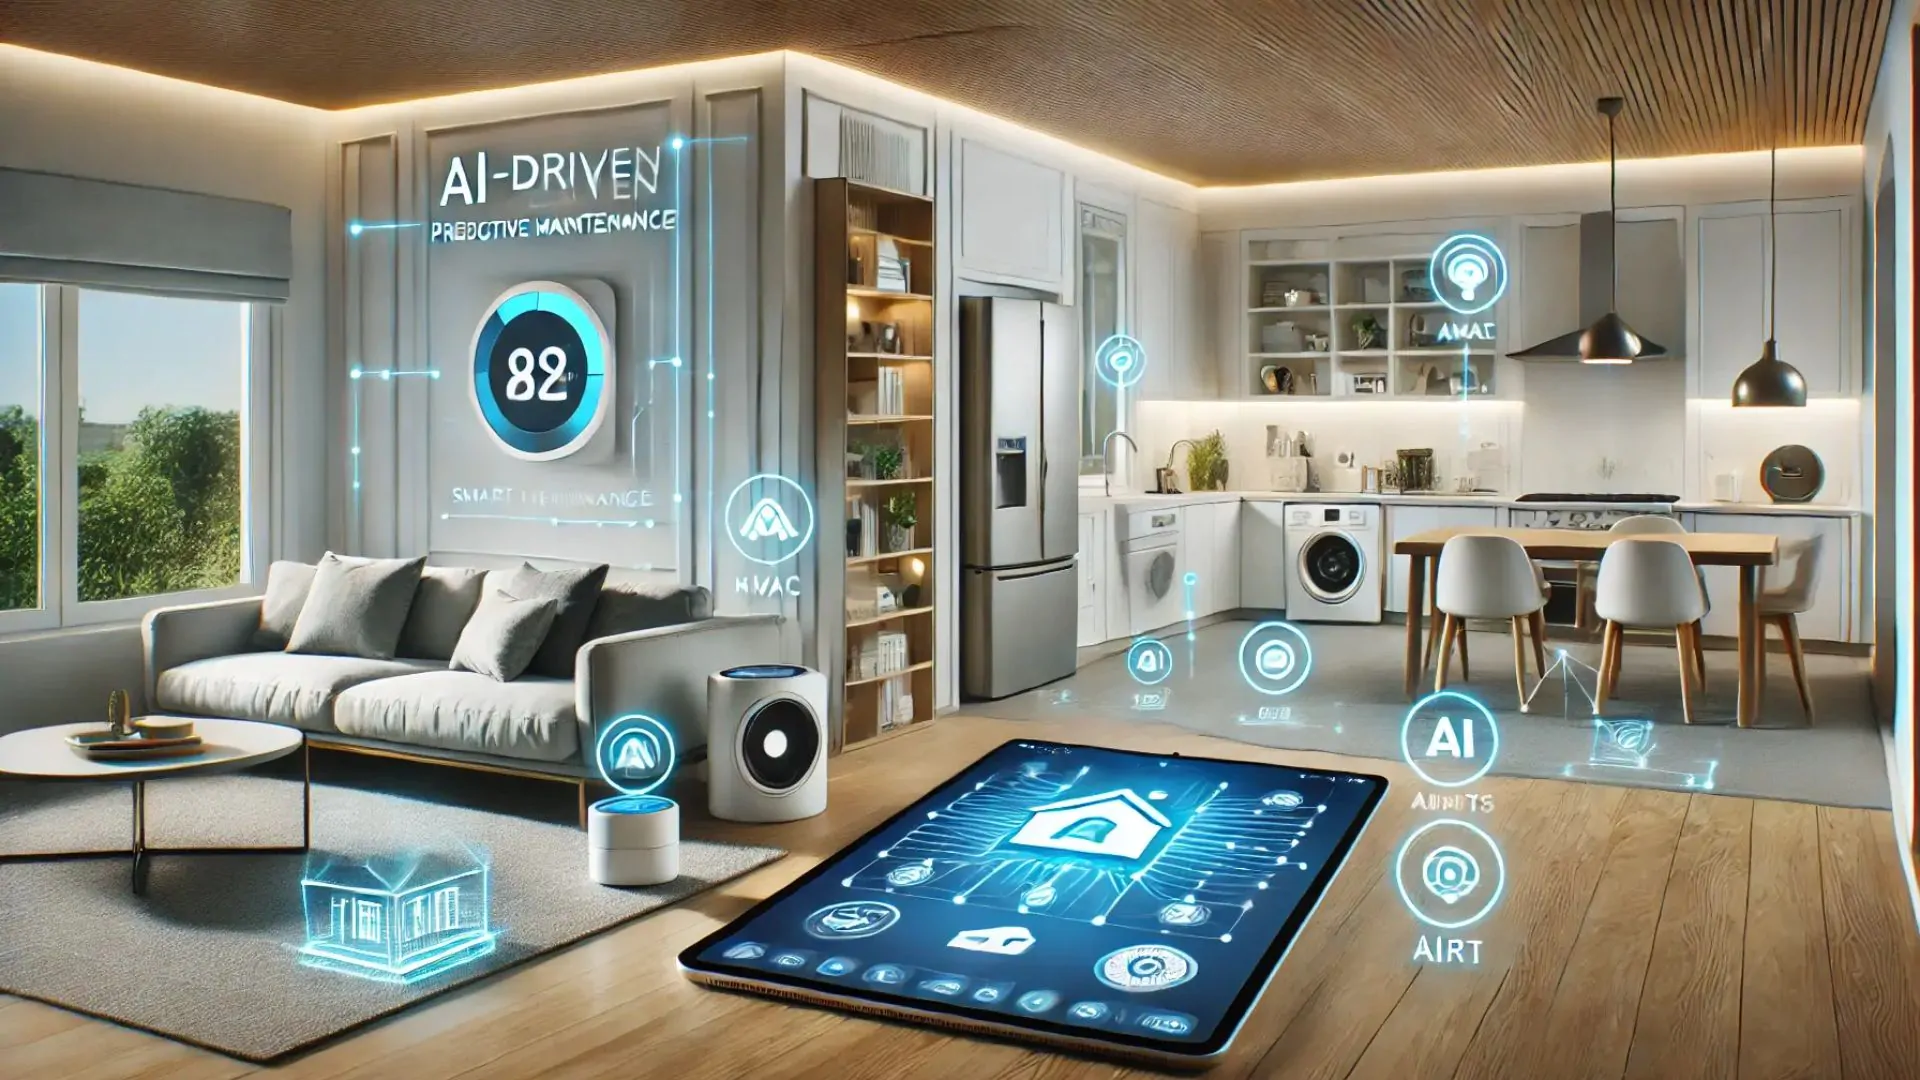
Smart Home Integration
Integration with existing smart home platforms enables the mirror to display device status, control smart lights and thermostats, and provide centralized access to home automation functions during daily routines.
API configuration connects the mirror to weather services, calendar applications, transportation systems, and news sources that provide real-time information relevant to daily planning and decision-making activities.
Voice control integration through platforms like Google Assistant or Amazon Alexa can provide hands-free interaction with both mirror functions and broader smart home ecosystems.
Advanced Features and Customization Options
Facial Recognition and Personalization
Facial recognition capabilities enable personalized displays that show individual calendar events, preferences, and information based on who is using the mirror, creating customized experiences for different family members.
Privacy considerations require careful implementation of facial recognition features, including local processing options, data encryption, and clear user controls over biometric data collection and storage practices.
Multiple user profiles accommodate different household members with personalized layouts, information sources, and preferences that automatically activate based on facial recognition or manual selection methods.
Gesture Control and Touch Interface
Touch screen overlays or gesture recognition systems provide interactive control over mirror functions without requiring physical buttons or voice commands that may not be appropriate for all installation locations.
Gesture control implementation uses cameras and computer vision algorithms to recognize hand movements and gestures that can control display brightness, switch between information screens, or interact with smart home devices.
Touch interface options include capacitive touch overlays that maintain mirror functionality while providing direct interaction with displayed information and controls for enhanced user experience.
Health and Fitness Integration
Health monitoring features can display fitness goals, activity tracking, and wellness reminders that support daily health routines and encourage positive lifestyle habits through convenient information display.
Integration with fitness applications and wearable devices provides personalized health data display that helps users track progress and maintain awareness of wellness goals during daily mirror usage.
Posture analysis and form checking for exercise routines can utilize camera systems to provide real-time feedback during workouts or stretching activities performed in front of the mirror.
Troubleshooting and Maintenance
Common Installation Issues
Display quality problems often result from inadequate two-way mirror material, improper lighting balance between LCD brightness and ambient lighting, or physical alignment issues between mirror and display components.
Network connectivity issues can prevent weather updates, calendar synchronization, and smart home integration, requiring systematic troubleshooting of WiFi settings, firewall configurations, and API authentication problems.
Performance optimization may require Raspberry Pi overclocking, memory management adjustments, or software module selection to ensure smooth operation and responsive user interaction throughout daily usage.
Ongoing Maintenance Requirements
Software updates and security patches require regular attention to maintain optimal performance and protect against security vulnerabilities that could compromise smart mirror or home network security.
Physical cleaning and maintenance of mirror surfaces, electronic components, and ventilation systems ensure long-term reliability and appearance quality that maintains the mirror’s functionality and aesthetic appeal.
Component replacement procedures and upgrade paths enable future enhancements and repairs without requiring complete system reconstruction, protecting the initial investment and enabling continued improvement.
Cost Analysis and Budget Planning
Component Cost Breakdown
Total project costs typically range from $150-400 depending on component quality, screen size, and desired features, representing significant savings compared to commercial smart mirror products costing $800-2000.
Budget optimization strategies include using refurbished monitors, alternative single-board computers, and simplified frame construction techniques that reduce costs while maintaining essential functionality.
Premium component selection for enhanced durability, display quality, and advanced features may justify higher initial costs through improved performance and longer operational life.
Time Investment and Skill Requirements
Construction time estimates range from 10-30 hours depending on complexity, customization level, and builder experience with electronics, programming, and construction techniques.
Required skill levels include basic electronics knowledge, computer software installation, and woodworking or construction capabilities, though detailed tutorials can guide beginners through each step.
Learning opportunities provided by smart mirror construction include programming skills, electronics understanding, and smart home technology knowledge that can be applied to future projects and home automation initiatives.
Safety Considerations and Best Practices
Electrical Safety Requirements
Electrical safety measures include proper grounding, GFCI protection for bathroom installations, and adherence to local electrical codes that ensure safe operation in potentially humid or wet environments.
Professional electrical consultation may be advisable for permanent installations, especially in bathrooms or other locations where electrical safety regulations are particularly stringent.
Component selection should prioritize safety certifications and appropriate ratings for the intended installation environment to prevent electrical hazards or fire risks during long-term operation.
Privacy and Security Considerations
Data privacy protection requires careful configuration of cameras, microphones, and network connections to prevent unauthorized access to personal information or home security vulnerabilities.
Local processing options for facial recognition, voice control, and other sensitive features can minimize privacy risks while maintaining desired functionality and user convenience.
Network security measures including VPN usage, firewall configuration, and regular security updates protect against remote access threats and maintain smart mirror security throughout its operational life.
Future Upgrades and Enhancement Possibilities
Emerging Technology Integration
Artificial intelligence enhancements can provide more sophisticated personalization, predictive information display, and improved interaction capabilities as AI technology continues advancing and becoming more accessible.
Augmented reality features may enable virtual try-on capabilities, interactive tutorials, and enhanced information overlay that transforms the mirror into a more comprehensive interactive interface.
5G connectivity and edge computing capabilities could enable more sophisticated cloud-based features and real-time processing that enhances mirror functionality beyond current limitations.
Community and Open Source Development
Active development communities continue creating new modules, features, and improvements for smart mirror platforms, providing ongoing enhancement opportunities without additional hardware investment.
Contribution opportunities allow users to share custom modules, improvements, and solutions with the broader smart mirror community, fostering innovation and collaborative development.
Conclusion and Project Success Tips
DIY smart mirror projects offer rewarding combinations of technical challenge, practical utility, and creative expression that result in unique home automation installations tailored to individual needs and preferences.
Success requires careful planning, patience during construction and configuration phases, and realistic expectations about complexity and time requirements for achieving professional-quality results.
The learning experience provides valuable knowledge about electronics, programming, and smart home technology that can be applied to future projects while creating a functional and impressive addition to modern home automation systems.
Community resources, detailed documentation, and troubleshooting guides ensure that even beginners can successfully complete smart mirror projects with persistence and attention to safety and best practices.